Hi lovelies,
Today we’ve got one of my fabulous pattern testers, Jessica, posting a tutorial on how to pattern match when cutting out. This is particularly good timing if you’re joining the Nappy bag sew along!
Over to you, Jessica!
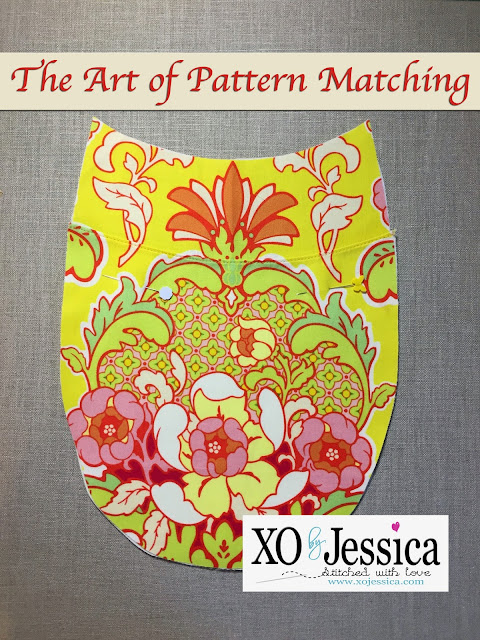
Who am I kidding? More often than not I find my fabrics “just happen” to be a perfect match on a seam or a pocket. Maybe I do it subconsciously, or maybe I am just lucky in that department. Either way, the results are always impressive.
There are fabrics that lend themselves well to pattern matching, and others I would avoid, at least while you are learning. Why? Many fabrics have so many small intricacies that you will make yourself crazy making sure it all matches up ‘just right.’ Plaids are a great example of this. There are so many details to look at and lines to check that your eyes and brain will quickly argue with one another as to where exactly you have found the “perfect” match.
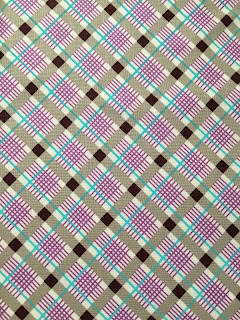
This plaid, while seemingly innocent, all those small lines and details will have your brain begging for a break in no time. Whereas, the larger print, like I will show below, is much more cut and dry when it comes to matching. As you come to learn and understand just how to match the fabric it will no longer be an issue for you. But, don’t stress if you can’t make them match right off hand – there are tricks to get around that too!
I have this gorgeous floral abstract I purchased as a remnant a while back and have been itching to use it since. When I knew I was writing this post it immediately came to mind. (I hope you find it as cheerful as I do.)
I like to start by identifying what bit of fabric I would like to highlight. As you can see this fabric has a very large and distinct pattern repeat that was made to be highlighted.
(I only had a funny shaped piece of this fabric, but I knew it was enough to squeeze out the panels I needed for this particular pattern.) It is best to start with a pattern you are familiar with and is simple in design when learning to pattern match.
Of course after I cut out the first side and looked at the pocket I realized that I didn’t have enough fabric to make the pocket to match nicely so I had to re-cut the piece from the opposite side. Be sure to take a few minutes and study your fabric and pattern to make sure that you have enough to match the pocket based upon the design repeat and your fabric piece.
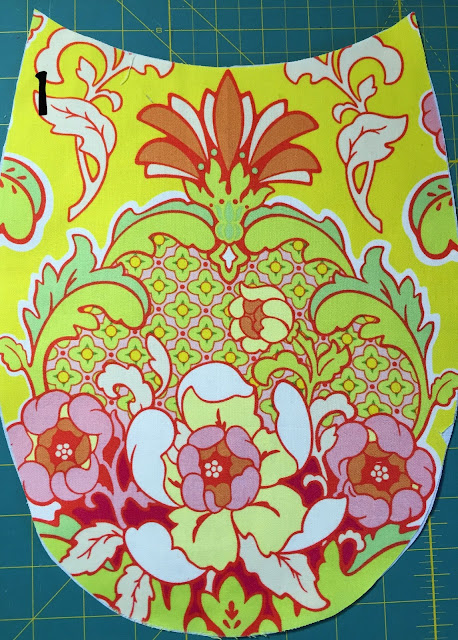
I start by cutting my primary bag piece – the outer main. (1)
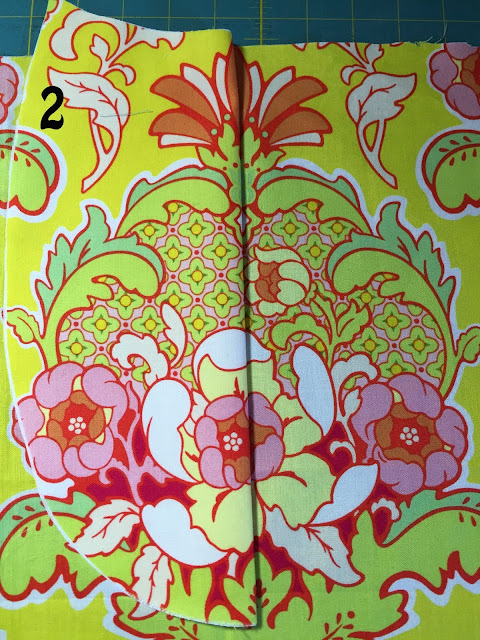
Once I have cut it, I then look at my fabric again to figure out exactly what part of the pattern I will be repeating. The best way to do this is to fold your main panel in half and place it over the pocket piece. (2) (If you have clear template plastic this is also a great place to use it.) You could cut the pocket first however, you could end up with a fabric shortage so I always cut the larger piece first.
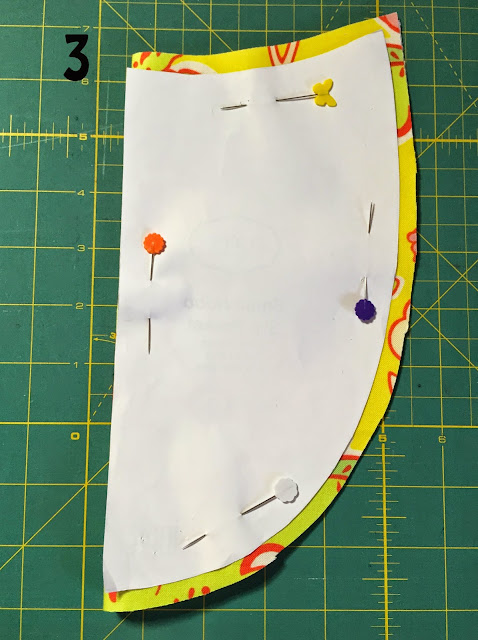
Once I have determined my repeat placement I cut out the pocket panel per the pattern instructions. I find that the pattern matching can be a bit tedious so I like to cut the fabric a little larger so I can be sure it will match up correctly at the end. (3)
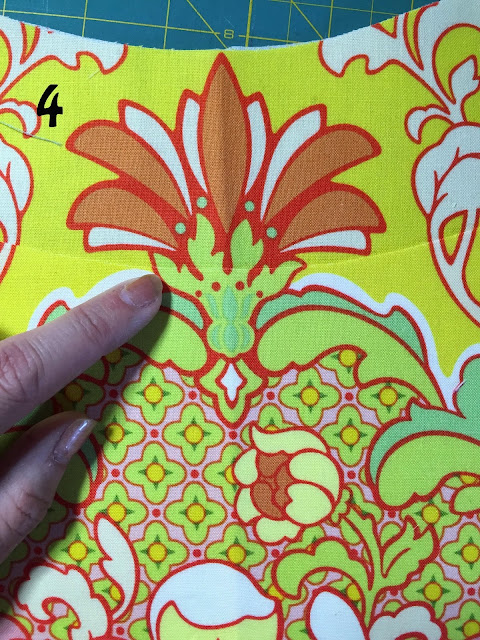
Go ahead and turn the panels over to check your placement. (4) A perfect match! Yay!
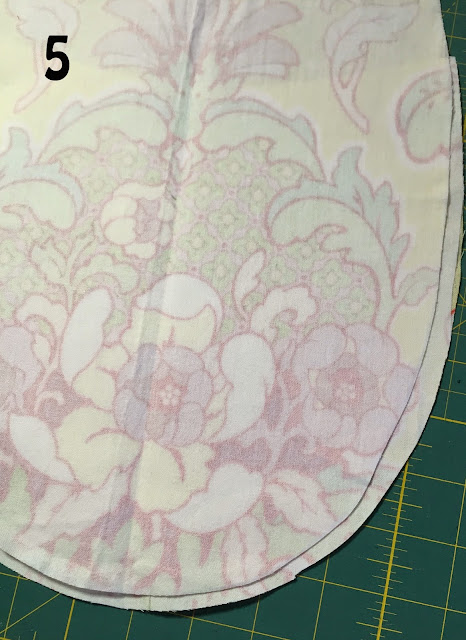
Turn again to the back side of the fabrics and check to make sure your pieces are the same size. (5)
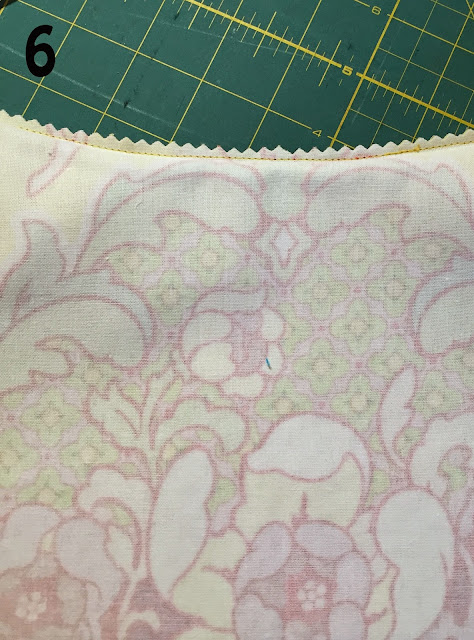
At this point, trim away the excess fabric (as seen sticking out) – so that both panels are the same size. As this is a curved seam, stitch allowance as per instructions and then take the time to clip/pink the edges to help you get that necessary crisp seam. (6)
Fold fabric back and press making sure that the fabric is pressed into place without the lining showing on the front side. (7)
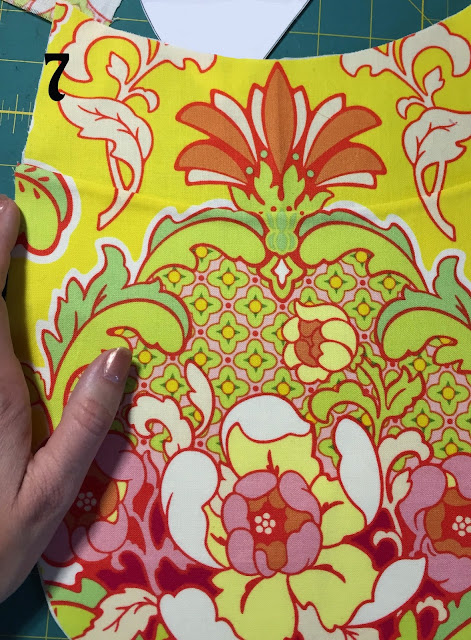
I think it is of utmost importance when pattern matching to make sure your seam is pressed very well and without error. (8)
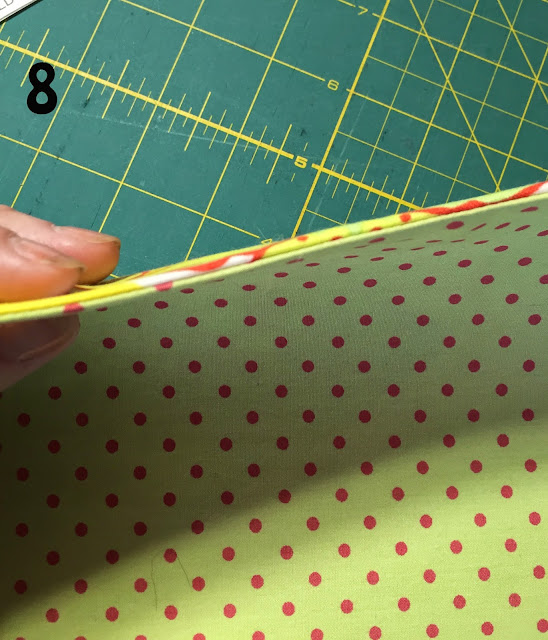
Now, finish off the seam on the pocket with a line of top-stitching.
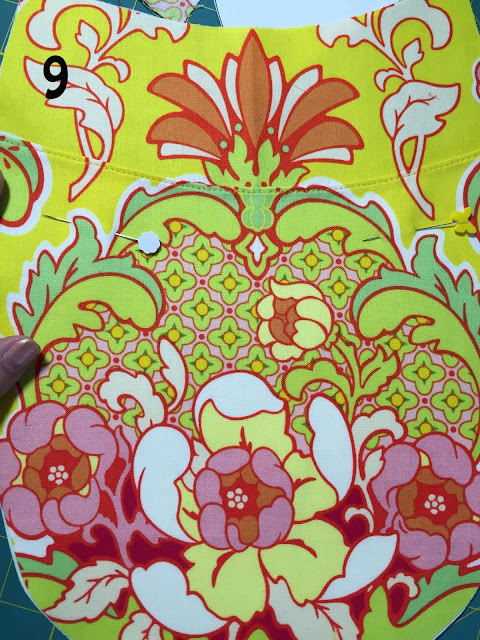
Voila! The curves of the flowers are definitely a bit fussy but so worth the effort. Thanks for stopping by to read and I hope you learned something new.
XO, Jessica
– – –
Hi! I am Jessica of XOJessica. I am a self proclaimed fiber artist and I specialize in custom bags of all shapes and sizes. I have been sewing for too many years to count and spent years as a quilter. Over time (and out of necessity) I expanded into bags. We moved overseas and I was able to take very little with me, so I chose my sewing machine and some rudimentary supplies. I did some quilting there but stumbled across a bag that caught my eye and have been creating them every since.
If I had to chose a favorite part of creating with fabric it would most definitely be choosing fabrics. The combinations are so truly endless! I don’t consider myself as having any particular style I gravitate to, I just create with whatever inspires me at any given moment. My favorite part of bags is the process of creating a unique item for each person I encounter. One of my favorite bags as of late was created for a District Librarian on the west coast. It was an incredible adventure for me to combine her loves of Shakespeare, Lord of the Rings & Harry Potter into a messenger bag. She was thrilled with the results and sent another friend my way immediately thereafter!
I am pretty new to the business side of bag making, it’s a real adventure every day (and ridiculous amount of “I have to do that?!”) This is my first guest blog post – and my inspiration to get my blog to the standard I want it at! When I am not sewing I am a full time taxi – I have 3 teen daughters, (one is on loan to me) and an amazing husband that supports all my fabric stroking, sewing machine collecting habits. (Plus three furry “helpful” assistants.)
Thank you so much for stopping by, I love sharing my knowledge and hope that you can learn something new from me today.
XO, Jessica