This blog features The Nappy Bag.
Hello lovelies,
You all loved seeing Amanda’s new work bag, and I’m so thankful for your kind comments!
One of the most important elements to Amanda (apart from there being NO PINK!) was to have a clipboard pocket in the lining. You can see it in the top of the photo below, with the cream piping.
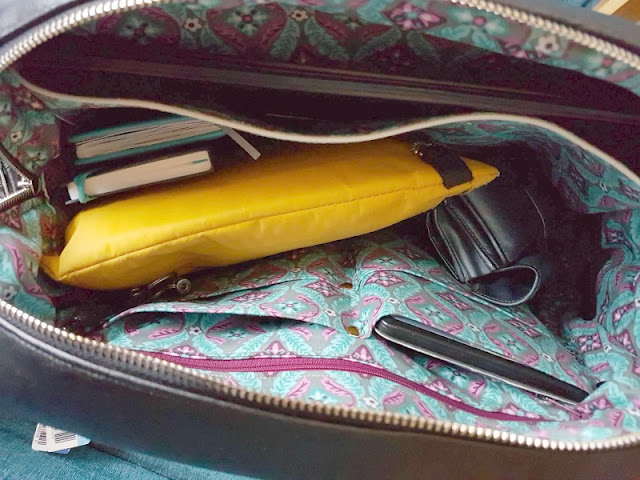
I wanted to make sure that this pocket wouldn’t be flapping around annoyingly when it was empty, such as when Amanda was walking around with the clipboard out and quickly needed to get her diary, or notebook.
So I added some invisible magnetic snaps, and I took some photos of the process to share with you all.
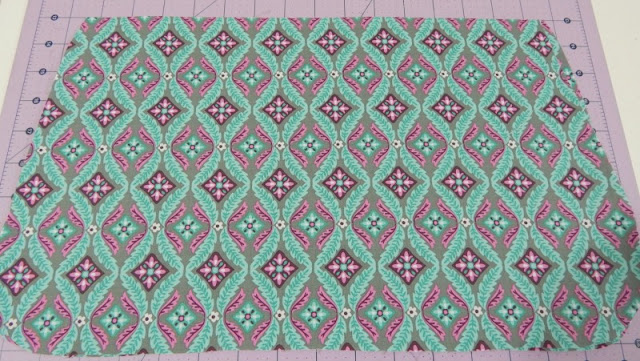
First of all, using the pattern piece for the main body, I cut 2 pieces 10″ high from the bottom. I used the same fabric for the outside of the pocket and the lining of the pocket so that it’s not obvious.
On the wrong side of the lining piece, I drew a line 1″ from the top edge of the pocket piece.
Then I got two invisible magnetic snap sets and marked them with a pen. I marked the sides that attracted to the other sides, one set with a cross, one with a line. Invisible magnetic snaps don’t have to have the same partner, you just need to make sure that the sides you’re sewing together are ones that attract rather than repel.
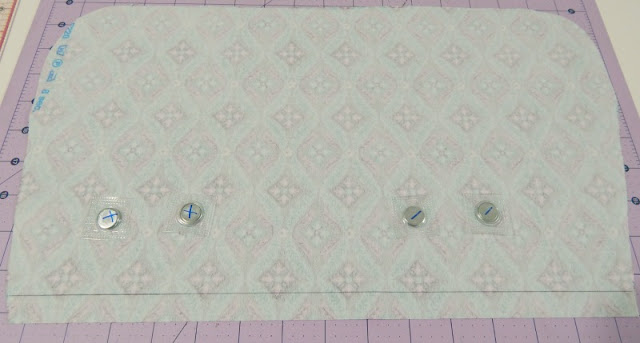
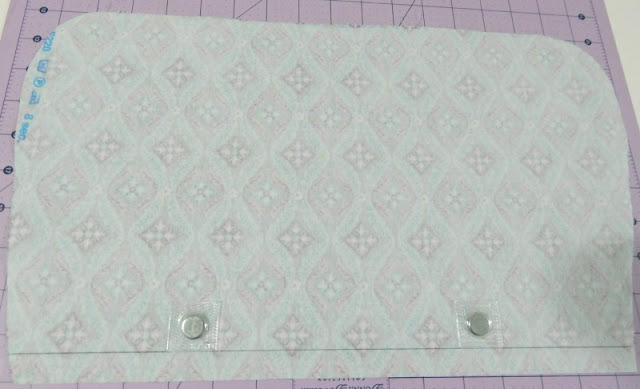
I put one cross and one line snap to one side making note of which was on the left and which was on the right, then put one of each snap face down lined up with my 1″ line. I used some Fabri-Tac to hold them in place, then sewed around the outside, on top of the plastic square. I sewed twice, just to be sure!
On the outer pocket piece, I used double sided basting tape to attach a row of narrow (3mm) piping. The seam allowance for the piping was only 1/4″ and my pocket seam allowance was 3/8″, so I placed it 1/8″ down from the top, then stitched it into place.
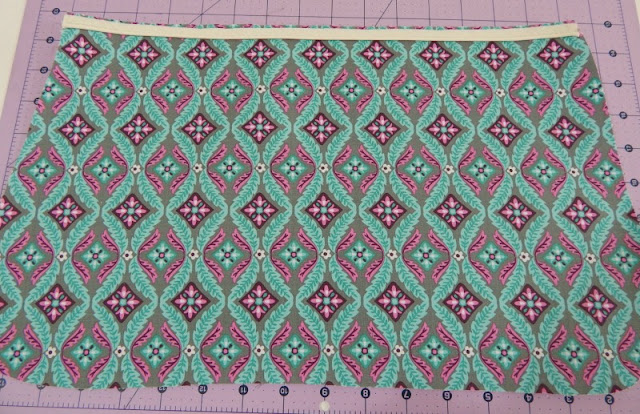
Matching tops, I sewed the outer and the lining of the clipboard pocket together, right sides matching along the top, then turned, pressed and top stitched along the top of the pocket.
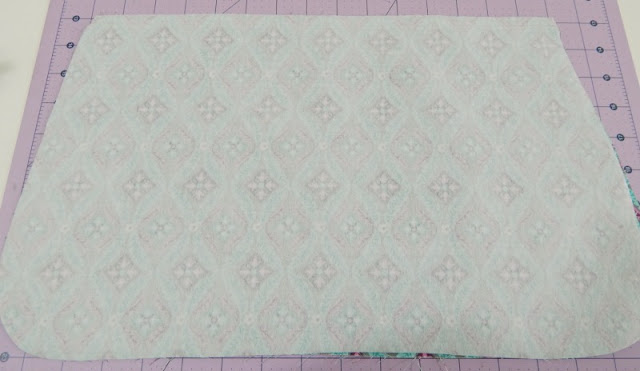
Next up, I laid the pocket on top of my lining Main Panel for the bag (wooo to my pattern matching!) and pinned it in place in a few places.
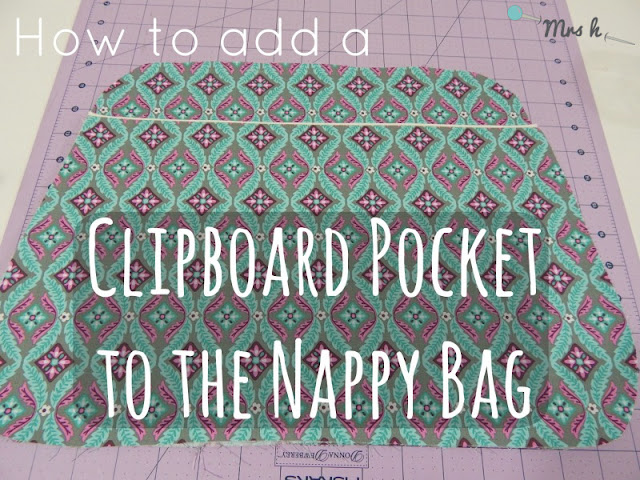
On the back, I drew around the imprint of the magnetic snaps which I could feel through the fabric.
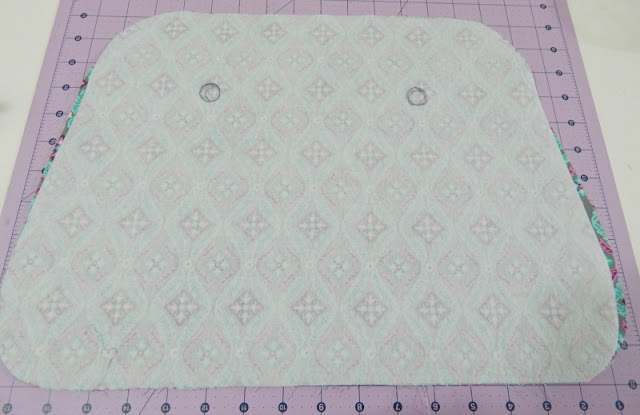
Then I placed the second halves of the snaps on top of the placement circles I’d drawn, again using Fabri-Tac to hold them in place, then sewed as before.
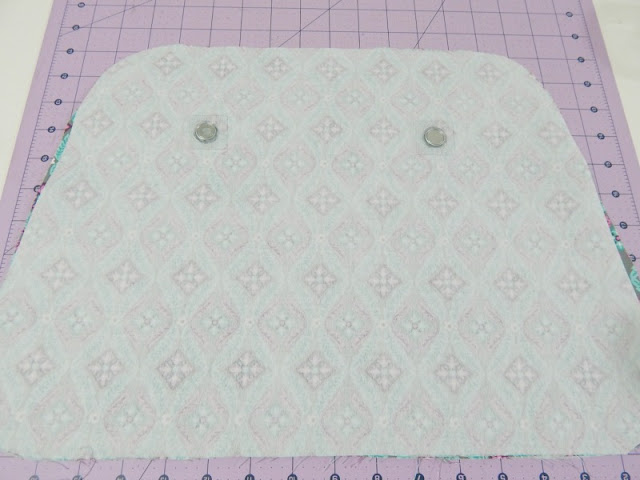
After I’d done that, I basted around the sides and bottom of the pocket and the lining Main Panel and treated them as though they were one piece for the rest of the pattern instructions.

You could use this method for any pocket you like. The best thing about invisible magnetic snaps is that they don’t catch on anything you want to put in and out of the pocket!