Updated Oct 2015!
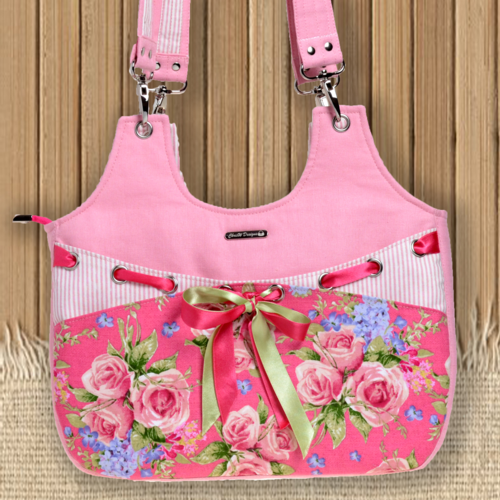
Grommets are SUPER FUN once you know how to install them! They are especially effective in bags! Use them for hook straps, like in my Bella II Bag:

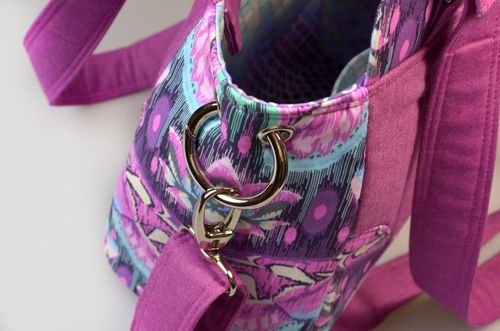
Or use them to attach the straps like in my Epiphany Bag:

Or use them just for decoration! Grommets come in all sorts of sizes and also plastic as well as metal. You can even get coloured ones too! The main thing to bear in mind is that each grommet size needs it’s own special size tool. Sometimes you can even find starter sets that include the tools. I had a set like that BUT found the tools had a limited life so I invested in a better quality tool set because I know I will be setting lots of grommets. If you plan only on setting a few, they will most likely do the job for you!
OK…. Let’s set some Grommets!
What you need:
- Grommets in your chosen size:
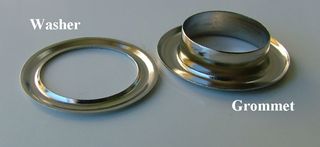

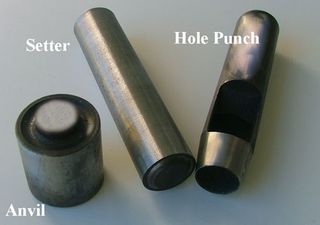
- Grommet Setting Tools. Note yours may look a little different and perhaps more shiny and fancy than these but it is likely to be something similar! Sized to suit your grommets:

- Hammer
1) It is worth noting here that you may need to add some reinforcement materials if you are using quilting cottons or other lightweight fabrics with only a little interfacing. Add this between your outer fabric and your lining. This could be some canvas scraps, denim or other heavy fabric scraps or some extra interfacing.
2) Mark the placement of your Grommets and punch a hole with your hole punch:
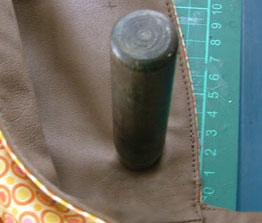

You can use a pair of scissors to CAREFULLY cut a hole if you don’t have a hole punch or if your hole punch tends not to cut right through (Like mine! LOL) Just remember it is better to err on the side of small rather than too large otherwise your fabric might pull out in places and show the raw edges. I actually raided my hubby’s tool box for a smaller hole punch as I found the one supplied with my setter was a little too large!
You can use the washer as a template for marking the hole placement!
3) Next place your grommet onto the anvil. The grommet is the ring with the raised centre piece! TIP:I like to add a little Gutermann glue or other craft glue, to my grommets, just to make sure they stay put! But only a smidgen, you don’ want glue oozing out all over your fabric!
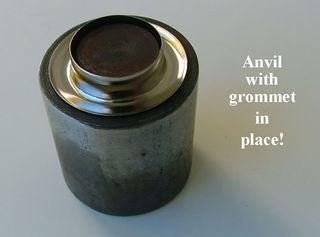

4) Now place your hole, RIGHT SIDE DOWN, over the top of the grommet. Hopefully it is a snug fit! TIP: If you are using a fabric that frays a lot, you might like to apply a little fray stopper around the edges of the hole although if you have added glue to your grommet, you may not need it.
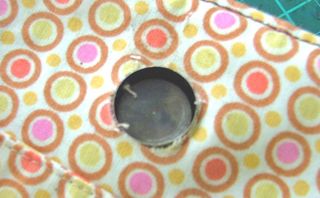

5) Next place the washer (The flat metal ring!) over the top of the grommet:
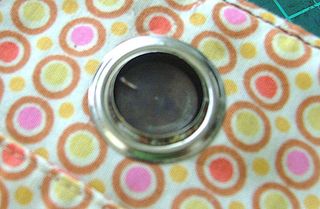

6) Now place your setter onto the grommet & washer and give it a good few whacks with your hammer! Whack down firmly onto the setter, making sure you are holding it straight upright and not at an angle! The aim here is to evenly flatten the grommet down over the washer so it grips the washer and can’t pull back out. Check as you go to make sure it is nice and flat and firmly set. If not, re-set the grommet back into the anvil and your setter back on top and whack again!
It helps to make sure you have a nice firm work area. A wiggly table is not a good idea! I have an old cutting mat which I use exclusively for rivet and grommet setting and I have that on top of a solid wooden bench so that the whole thing is nice and firm and sturdy. It takes a bit of practice to get to know the right amount of ‘whack’ to give your grommets and of course, the bigger they are, the more ‘whack’ they need!
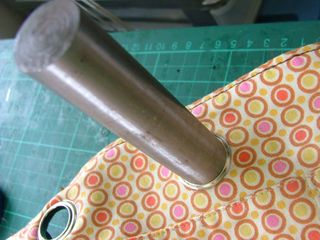

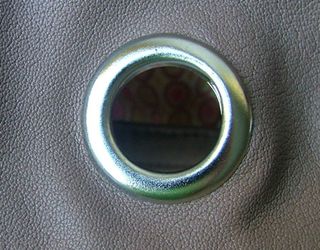
Great! That’s all there is to it! Have FUN!

You can download a PDF copy of my Grommet Tutorial HERE!
Cheers,

