Ok, so you’re top stitching…picture the scene. Wait, that should be the other way round.
Picture the scene…you’re top stitching. (If you don’t sew, ignore this whole post, it’s not for you)
Ok, so we’ve established you’re top stitching. Good. You don’t want your stitching to come unravelled but at the same time you’re fed up of backstitching at the start and end leaving a darker double stitch in it’s wake.
That’s where this locking stitch comes into action. I first saw it on Gertie’s blog for better sewing and I’ve used it recently so thought I’d share it with you.
(Ignore my crazy coloured photos, apparently my proper camera can’t handle photos as well as my phone…odd)
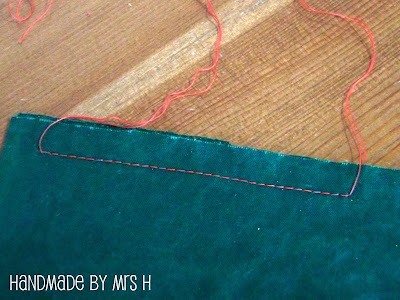
Start off by sewing as normal but without backstitching at the beginning and end. Turn your piece over so that you are on the bobbin side. (Or underneath).
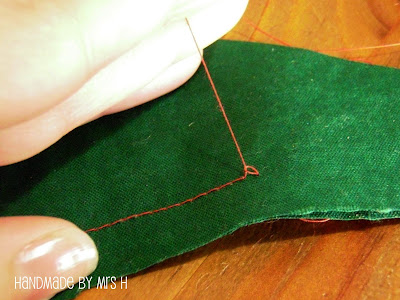
Pull gently on the bobbin side until you see the top thread forming a loop like so.
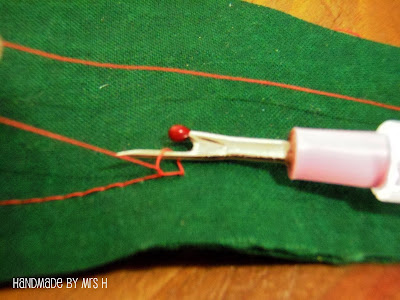
Insert something small and pointy into the loop. If you’re going to use an unpicker like I did then be careful not to cut the thread. You can use a pin or something similar.
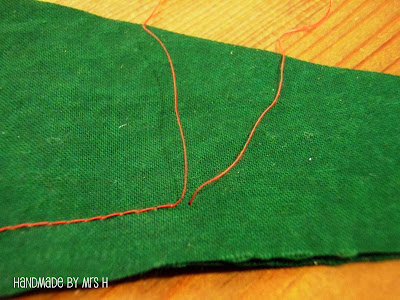
Pull on the loop until the thread from the front comes through to the back.
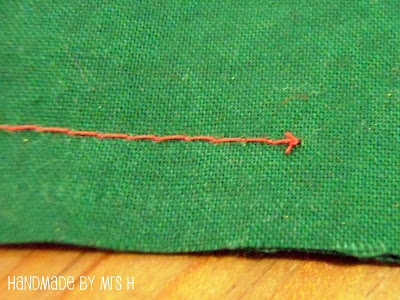
Now knot those two threads together. 3 times should just about do it. Trim the excess thread close to the knots.
 |
| I told you some of the colours were funny! |
This is how the back will look when you’ve done both ends.
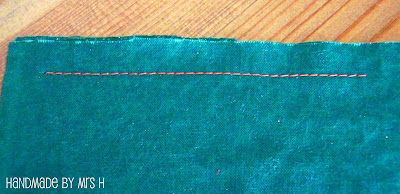
And the ever important front looks neat with no visible double stitching. I hate messy stitching!
I used this method whilst making a cushion cover with the NZ flag on it. I applique’d the Union Jack and stars on and didn’t want the messy back stitch so I lock stitched each section.
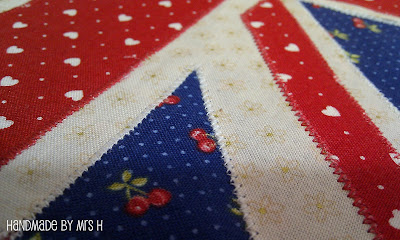 |
| Union Jack front side |
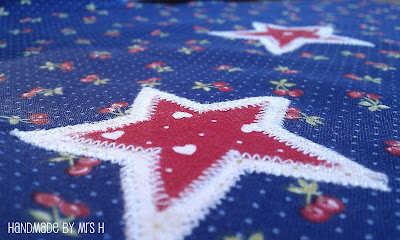 |
| Stars front side |
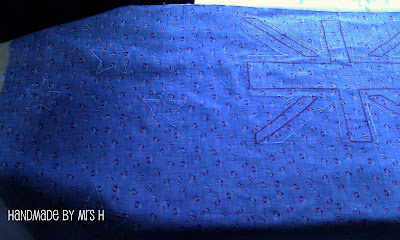 |
| Back side |
So, there we go, don’t just accept messy stitching when you don’t have to!
Samantha x